


Creating a mood board is the first step in designing a bathroom that feels both intentional and effortlessly stylish. Whether you’re dreaming of a timeless, classic retreat or a bold, modern space, a well-structured mood board will help bring your vision to life. Here’s our top tips on crafting the perfect mood board for your bathroom remodel.
Step 1: Define Your Design Direction
Before gathering images, ask yourself:
-
What feeling do you want your bathroom to evoke? Spa-like serenity, old-world charm, minimalist sophistication?
-
Are there specific colors, textures, or materials you’re drawn to? Not sure yet? Check out our selections for wallpaper and fabrics.
-
Do you prefer a vintage-inspired aesthetic, a sleek modern look, or something layered and eclectic?
Start by collecting words, materials, and styles that resonate with you. Think: polished marble, aged brass, tudor, quiet luxury.
For inspiration, take a look at Katie’s portfolio, such as the Wisconsin Heirloom Lakehouse for classic, layered interiors or the Rhode Island Gentleman’s Farm for a balance of bold patterns and timeless details.
Step 2: Gather Inspiration
Your mood board should tell a cohesive story, combining:
-
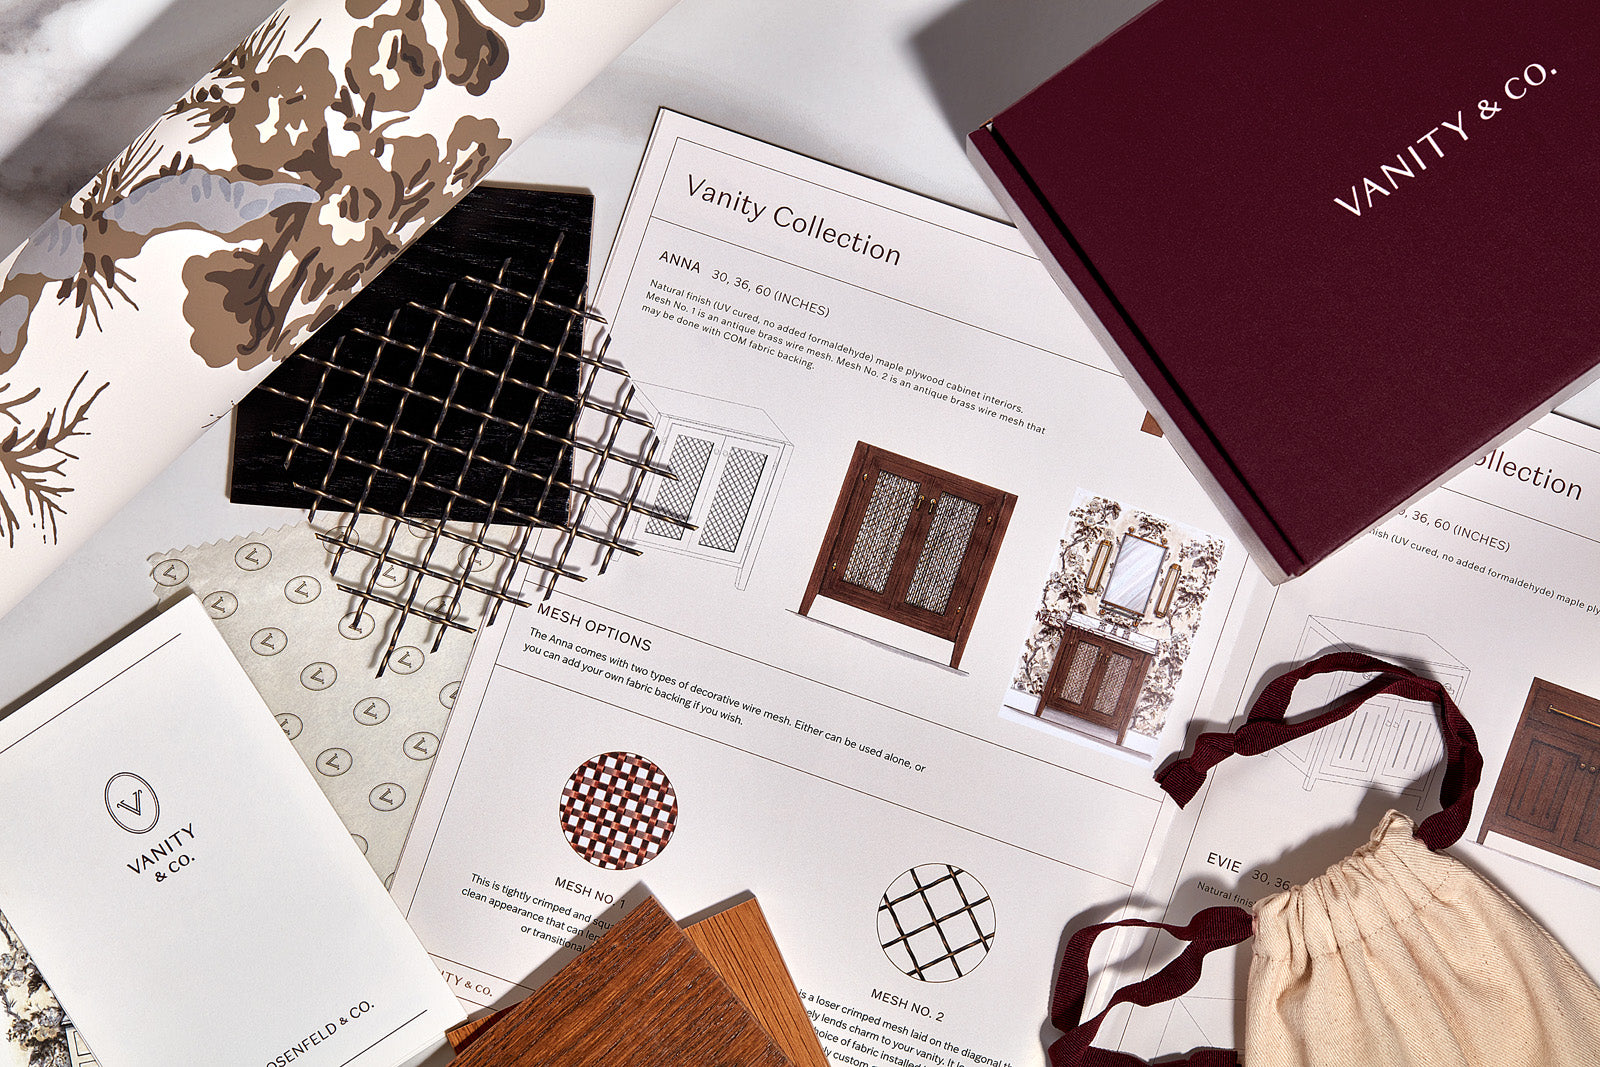
Tile & Surface Finishes – Marble, terrazzo, zellige, Schumacher wallpaper (browse our selection here)
-
Hardware & Fixtures – Unlacquered brass, matte black, polished nickel—consider the patina over time
-
Vanity Styles – Floating, freestanding, fluted wood, or a furniture-style statement piece
-
Lighting – Wall sconces, pendant lighting, or vintage-inspired glass globes
-
Accessories & Textures – Plush towels, woven baskets, reeded glass, or lacquered cabinetry
For an example of mixing traditional elements with unexpected color, see our Garden State Hapgood Colonial—a project that beautifully layers vintage fixtures, playful wallpaper, and classic stone.
Step 3: Create a Balanced Composition
When assembling your mood board:
-
Mix textures and tones to create depth—pair cool stones with warm metals, glossy tiles with matte finishes
-
Play with contrast—a dark vanity against soft white walls, bold wallpaper next to classic subway tile
-
Ensure cohesion—every material should feel like part of the same story, rather than individual elements competing for attention
A strong reference for this approach is Katie’s Heirloom Lakehouse, which juxtaposes natural woods, polished marble, and bold color accents for a refined yet comfortable look.
Start with a hero image—a statement vanity, an exquisite tile pattern, or a dream-like color palette. Build around it.
Step 4: Choose a Format (Digital or Physical)
-
Digital Mood Board – Use Canva, Photoshop, or Pinterest to layer images, color swatches, and materials for a refined visual concept.
-
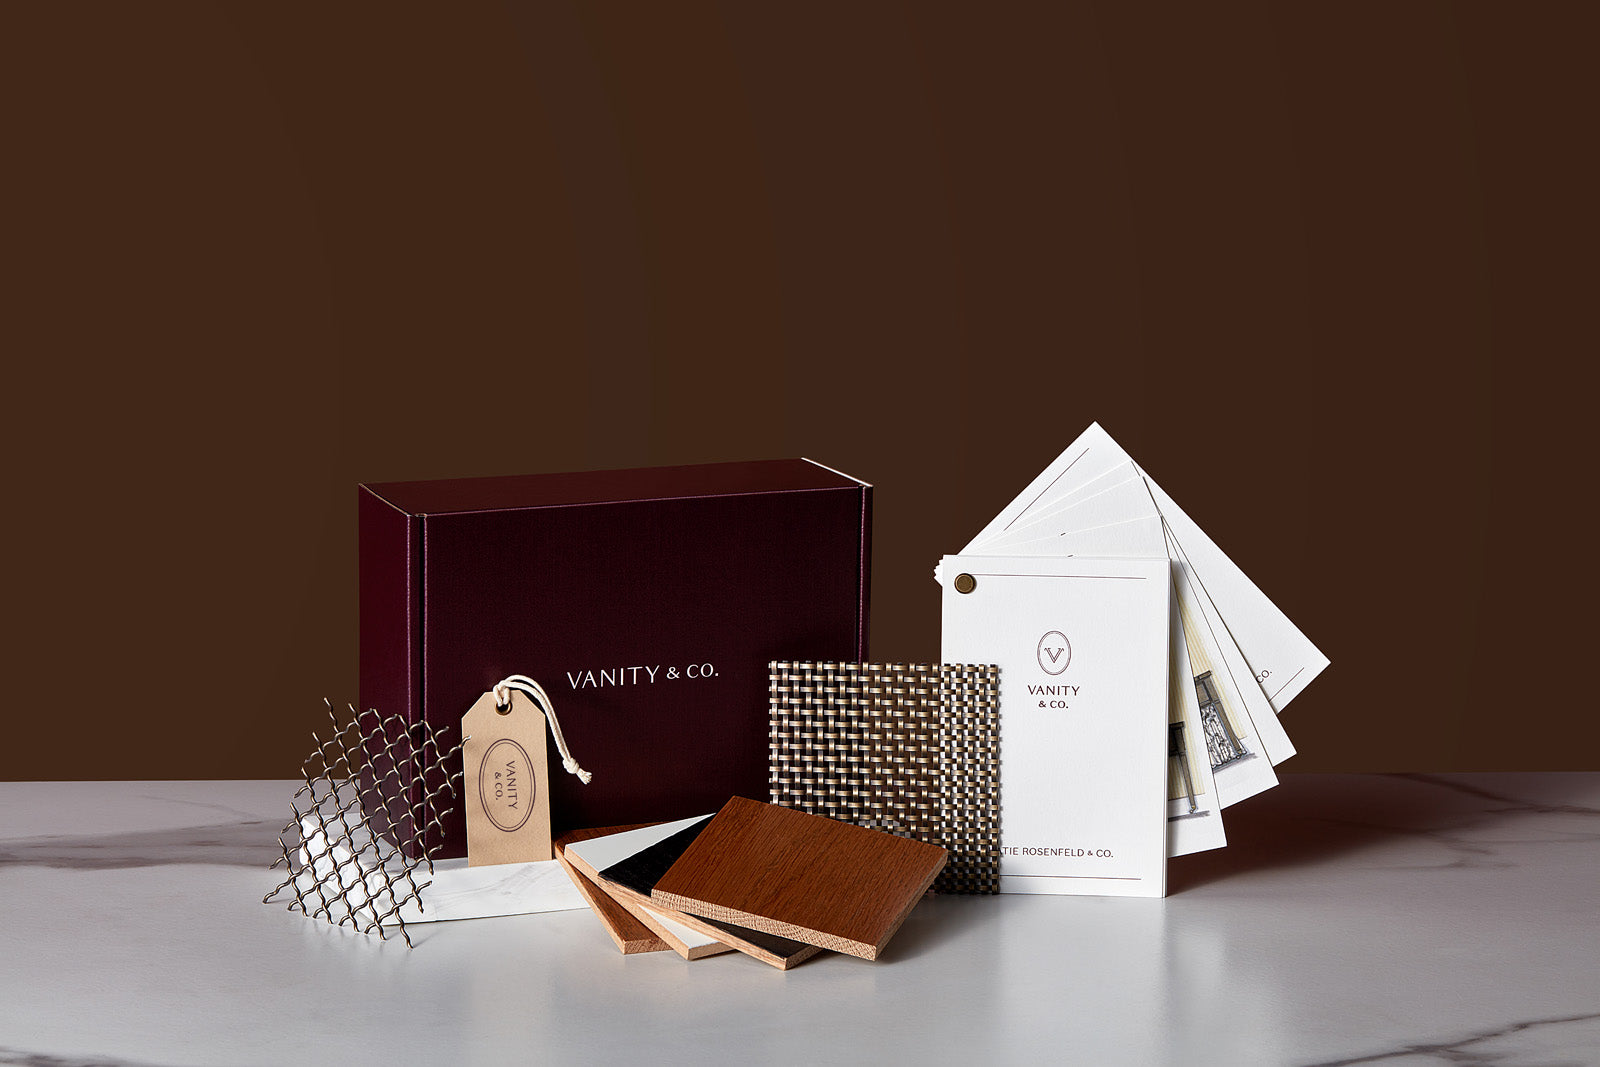
Physical Mood Board – Print images, collect material samples, and pin them to a corkboard. Seeing textures in real life makes all the difference.
Order samples of tile, wallpaper, and hardware. Seeing finishes under different lighting will help guide your choices.
Step 5: Refine & Finalize
-
Remove anything that feels out of place. A strong mood board is curated, not cluttered.
-
Label key materials and selections so you can reference them when shopping.
-
Keep it within reach throughout your remodel—your mood board will be your guide in making design decisions.
By following these steps, you’ll create a mood board that not only inspires but also provides clarity as you bring your bathroom vision to life. And when in doubt? Start with the vanity—it’s the anchor of the space.


